
Anatomy of a Photograph pt2

INTRO
This is the second installment of Anatomy of a Photograph. Anatomy of a Photograph is for any photographer, regardless of what camera is being used and skill level. I will focus on the little things that, when you add it all up, makes a good image great. You can read about lighting and rule of thirds all you want but some of us are just visual learners. If you like this, check out the last blog as well. Hope this helps.
EDIT, LEAD, & THIRDS
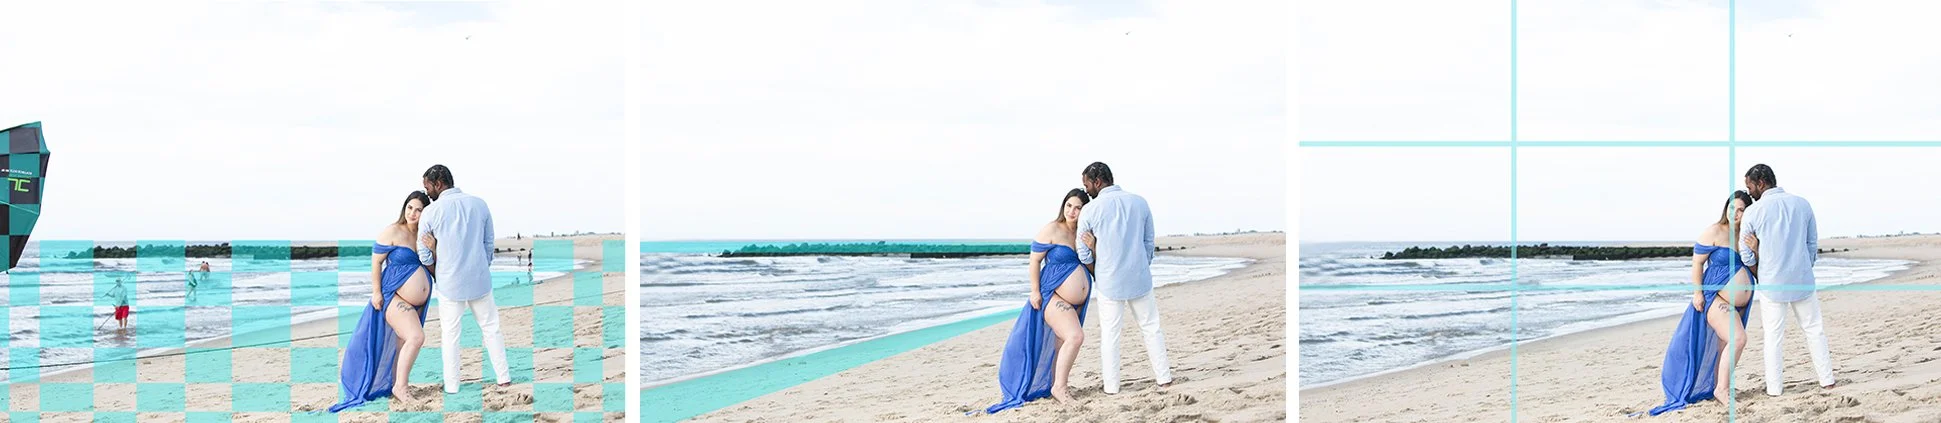
Editing: Editing an image can be done with a simple command in PS or LR’s AI or the clone stamp if WiFi is not available. Remove the eyesores fro an image.
Leading Lines: The diagonal line of the wave and horizontal line of the jetties LEAD your eye to the subject.
Rule of Thirds: Not every image needs to have the subject front and center of your image. Using rule of thirds brings variety to your photoshoot. The weight of the subject is balance out by the negative space on the rest of the image.
Extra points when you add good posing to the mix. Click the gallery for close ups


SWEET 16 BREAKDOWN
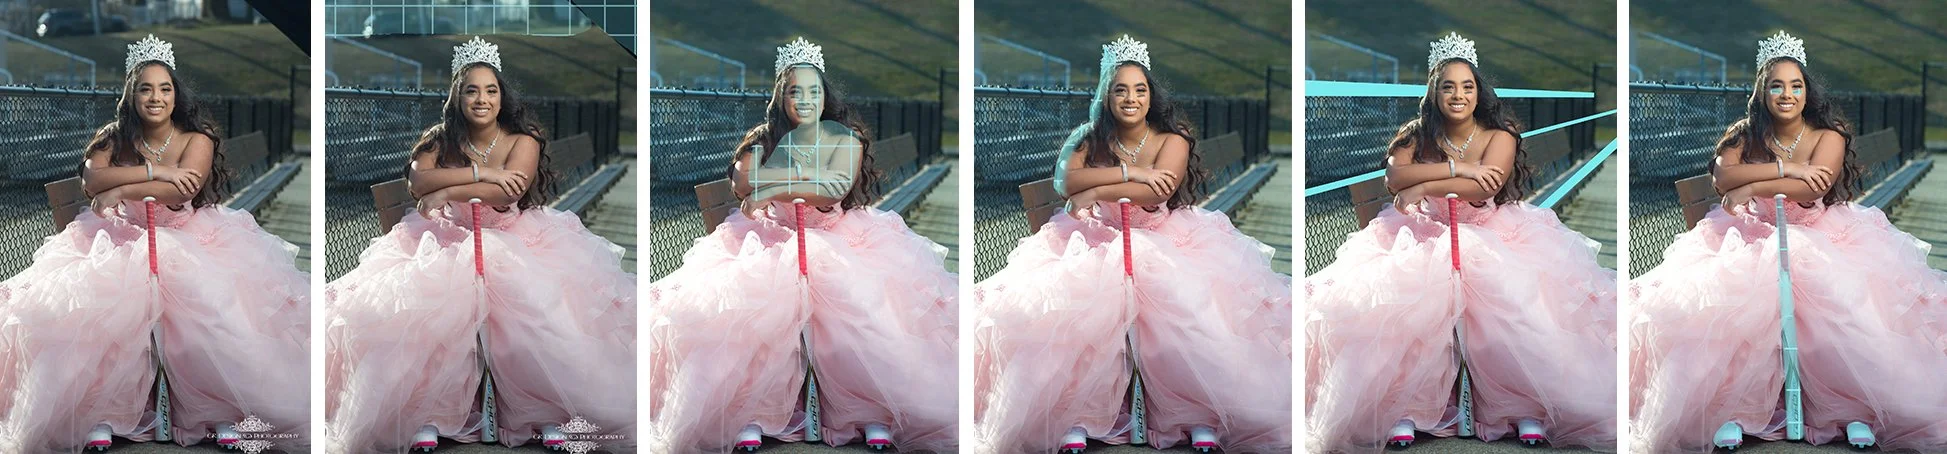
Eyesores: Remove eyesores such as cars and lighting equipment.
Lighting: Strobes are my main light source. 45 degree Rembrandt Lighting (the painter, its not a brand). The sun is my rim light, separating her from the background.
Leading lines: The leading lines in this image are from the fence and bench, leading your eyes to the subject.
Unique: Add some personality to your session with props. The subject enjoyed softball, so we added it to the session.
Click the gallery for close ups.


